Reading picture books and simple stories
Using picture books and little stories can be very motivating for beginners. My students start reading these picture books towards the end of year one. After reading a book they enter the title into their reading logs and write a short entry into their reading diaries. When they have done so, they show me their entries and we have a little chat about the book. We talk about the story, how they like the characters or we talk about their favorite page in the book. Thus the kids repeat some of the words and sentences they have read in the book, and by doing so, remember them. Don’t forget, that speaking about newly learned things and using the new words and expressions actively is the best way to anchor them in the brain.
Before we read the first book the kids design a pretty cover for their new reading diaries. Here are some examples of these cover-pages.
Designing pretty covers is a very important step that will set the scene for the following work. These diaries must be inviting, fun, colorful books — not the boring kind of homework book that turns you off and smells of work.


Reading Logs
When the kids have designed their cover pages we glue the Reading Log into the new notebooks. The kids will enter all the books they have read into this log. Whenever they have read a new book and had their book-chat with me, I sign it off in the last column.
Here is an examples of such a reading log filled in by one of my students. You will see that we started the reading diary in March of year 1 and the student entered more books in the course of year 2.

The first book:
In order to start the new reading diaries I read a picture book to the whole class. One of my favorite stories for this purpose is The Trouble with Mom, by Babette Cole. I read them the story and stop several times to have the kids do some simple tasks. When we are finished I ask the kids to design a page (or 2) in their reading diaries in order to show how they have understood the book. They can do whatever they want — I am very vague and open in my instructions so the kids have to think themselves. The only rule we have is: There must be some writing involved — you cannot only make a drawing.
These are some typical examples of this first entry:

Click here to open the full-size page.
Another student produced this page for THE TROUBLE WITH MOM:
Another student decided to write a letter.

Read as much as you can
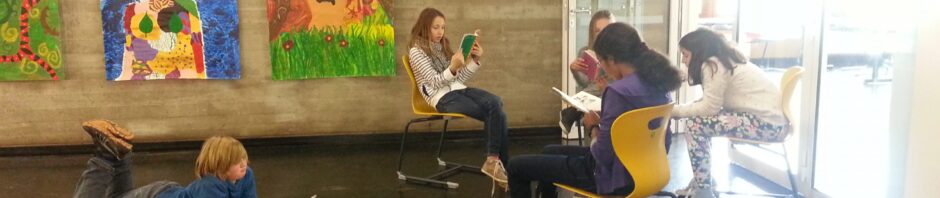
After this first book the students read picture books and stage 1 readers themselves. I always reserve a bit of time for reading in my workshops and the kids are encouraged to read some simple stories at home. In class kids like to read a book with a partner. That is even better, because the students take turns reading the pages to each other and thus use the language more actively and remember it even better.
They enter each book into their reading logs, design a page or two in their reading diaries and have a book-chat with me.
If the kids run out of ideas or just need a quick activity for their diaries they can choose one of the following very basic tasks. All these tasks are short, non-threatening and fun — so they don’t ruin the fun of reading.
Click on the blue boxes to open the printable forms. As you can see, the kids only need each form once, to see how each task works. Then they draw their own pages.
Story tree (a very basic task for beginners)
Story pyramid (basic story facts)


Story pie (a very simple summarizing task)

Story card (a first type of book review)
My first reading diary (tips for writing simple entries for beginners)

Wordsearch with some of the important words in the story

Crossword

Letter or Postcard
Simple summary of the story

Boardgame

Factsheet

Acrostics using the title of the story or a main character’s name
Origami Books
This is one of my favorite ideas. It works best when the teacher reads a story to the class without showing the pictures. After the reading each child gets an A3 sheet and they fold simple origami books. Then the kids rewrite the story as they have understood it and illustrate their books.

For more pictures and detailed instructions click here.
Back to TOP